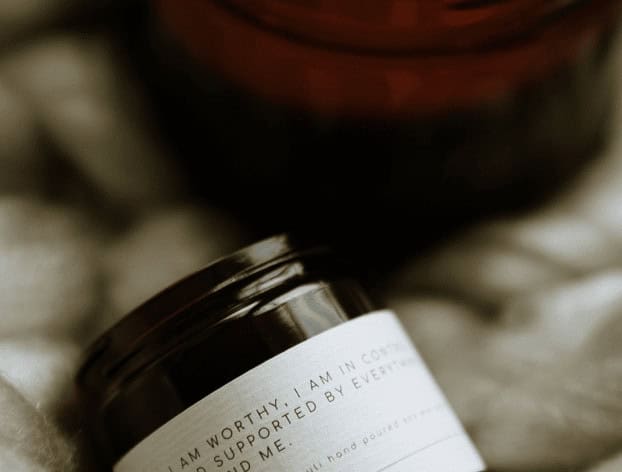
Candle making has to be one of the most restful and rewarding crafts out there today. The whole process is incredibly mindful from the initial melting, the stirring, the pouring and the final burning of it. To make it even better you can reuse your container over and over again making it an incredibly affordable thing to do for yourself and to make for friends. If you would like to start candle making then I have created the perfect starter kit for you. Filled with pre-measures wax and fragrance and an easy melting pot which you can use in the microwave or on the hob… it is the perfect introduction to making soy wax candles. Click to view our candle making kits
– Colour professionally printed instructions
– Container as selected at time of order
– Soy Wax to fill included containers
-Pre-measured scent to scent wax appropriately
– Wooden Stirrer
– Wooden Wick Supports
– Safety stickers
– Wick stickers
– Glass wax melting jar (for hob or microwave)
Below is an outline of our Candle Making instructions with a little video too.

Step 1: Prepare. Prepare your container with the wicks and wick stickers. You simply stick the wick to the centre of the bottom as the wick has already been chosen for the diameter of the candle vessel you have chosen.
Step 2: Secure Add the wick support to secure the wick in place ready for pouring in your warmed and scented soy wax.

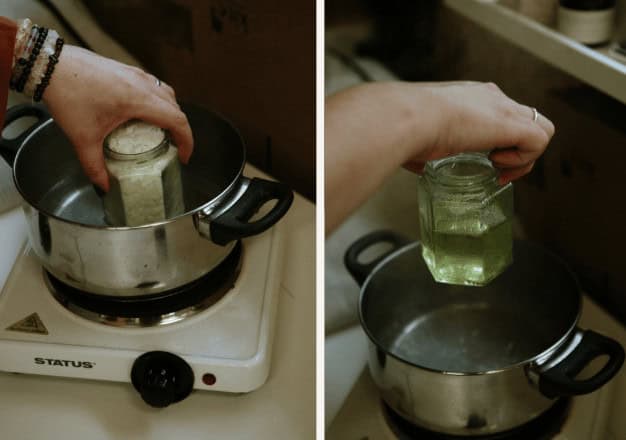
Step 3:Melt the wax Fill the larger clear jar with the wax (it may already be filled for you) and pop it into the microwave or sit in a shallow pan of simmering water. When the wax become liquid it will make room for you to keep adding to it until all the wax has melted or you have no more room in your jar.
Microwave: Heat for 30 seconds at a time , stirring in between, until the wax is melted. You should only need about 2-3 minutes.
Pan: Sit in the water until all the wax has melted being careful not to burn yourself when removing the jar from the pan.
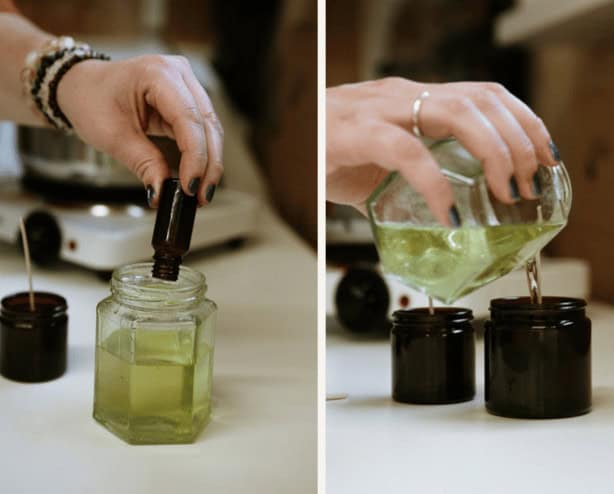
Step 4: Scent & Pour. If adding scent (which we have pre-measured for the amount of wax in the kit) you can add this now and stir for 1-2 mins before pouring the wax into the container just below the ridges making sure you split the wax if using multiple containers. Ensure you centre the wick using the wick support in step 2 when you have finished pouring.
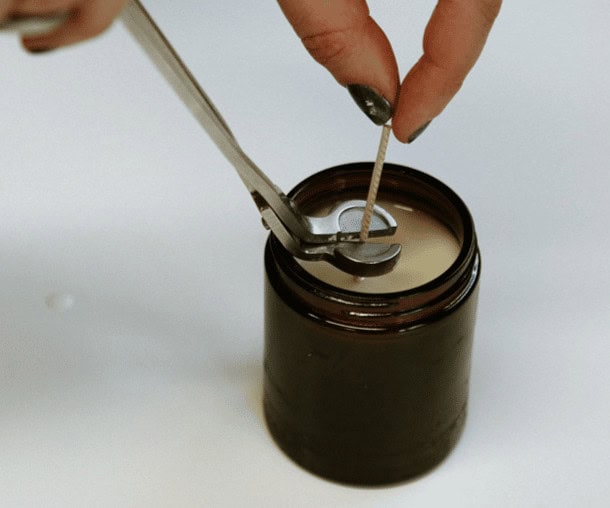
Step 5: Leave to cure. Allow your new candles to sit without being moved until set. Ideally leave for 3 days to allow them to cure before you light them. Trim the wick to 5mm before lighting. Don’t forget to add your safety labels to the bottom and if you have ordered labels for the jars then you can add these now too.
Step 6: Enjoy
Now it is time to enjoy your new candle and marvel at just how brilliant you are!
Oh and visit www.love-ria.co.uk to learn more about using candles to receive, imagine and achieve all you desire.